A well engineered sliding seat
Here I'll say a few words about the thought and process that went into the design and construction of the sliding seat unit in my ocean rowing boat.
This was an interesting job for me. Most jobs on a boat have an obvious path to take, as it's usually been done before, but designing a sliding seat for an ocean rowing boat is not something that many boatbuilders have done, certainly none that I know of.
Most sliding seats on racing shells run on extruded aluminium concave tracks that house small diameter wheels. They are lightweight and very much suited to the task they are designed for. They are not, however, suitable for an ocean rowing boat. These boats require a much wider seat, and need to be able to withstand months of heavy use.
With this in mind, I set out to design something practical, simple and traditional.
The hardest part of designing a sliding seat is to fix it athwartships, and up and down. Maiwar is going to doing a hell of a lot of rocking and rolling, so I need to make sure the seat stays firmly on its tracks.
The other ocean rowing boats I have seen have a bulky looking arrangement with vertical and horizonal rollerblade wheels. The seat runs on the vertical wheels and the horizontal wheels are used to arrest the side to side motion. I was going to opt for something similar, and had gone to the trouble of finding someone who sold 'all white' rollerblade wheels, when it occurred to me that there must be a better, and more traditional way to go about it.
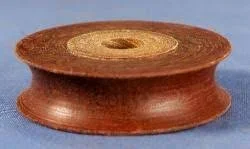
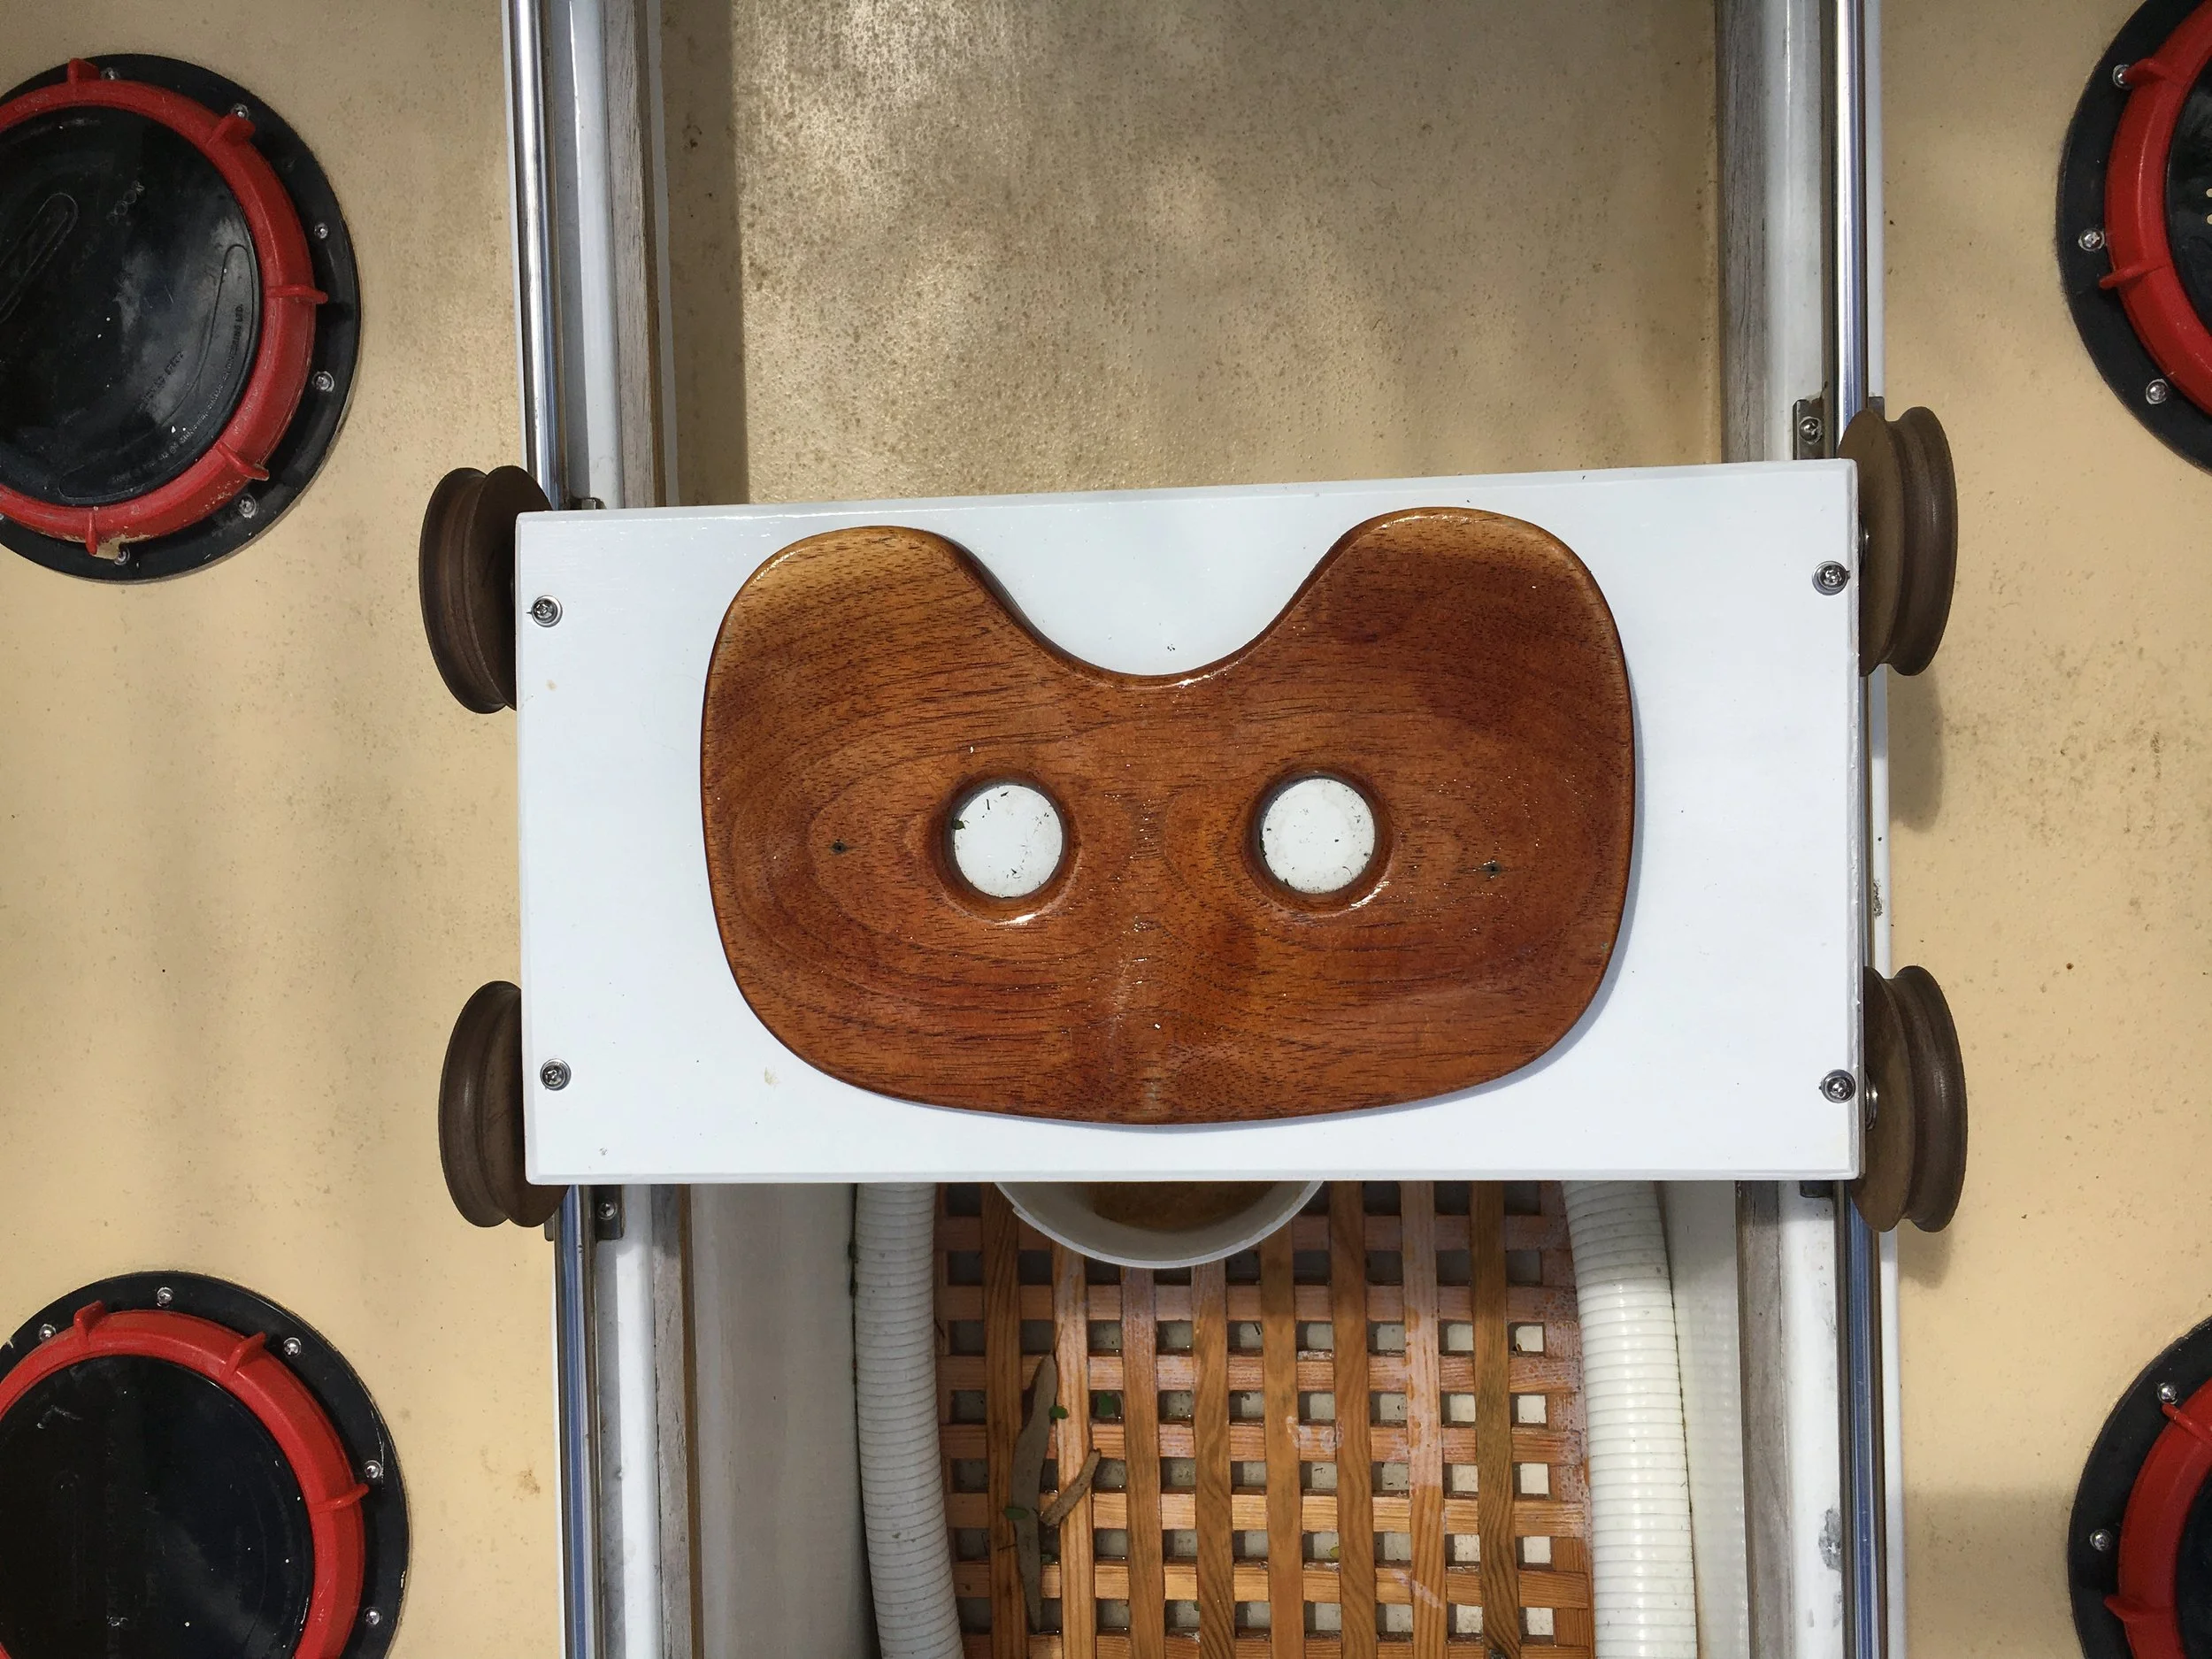
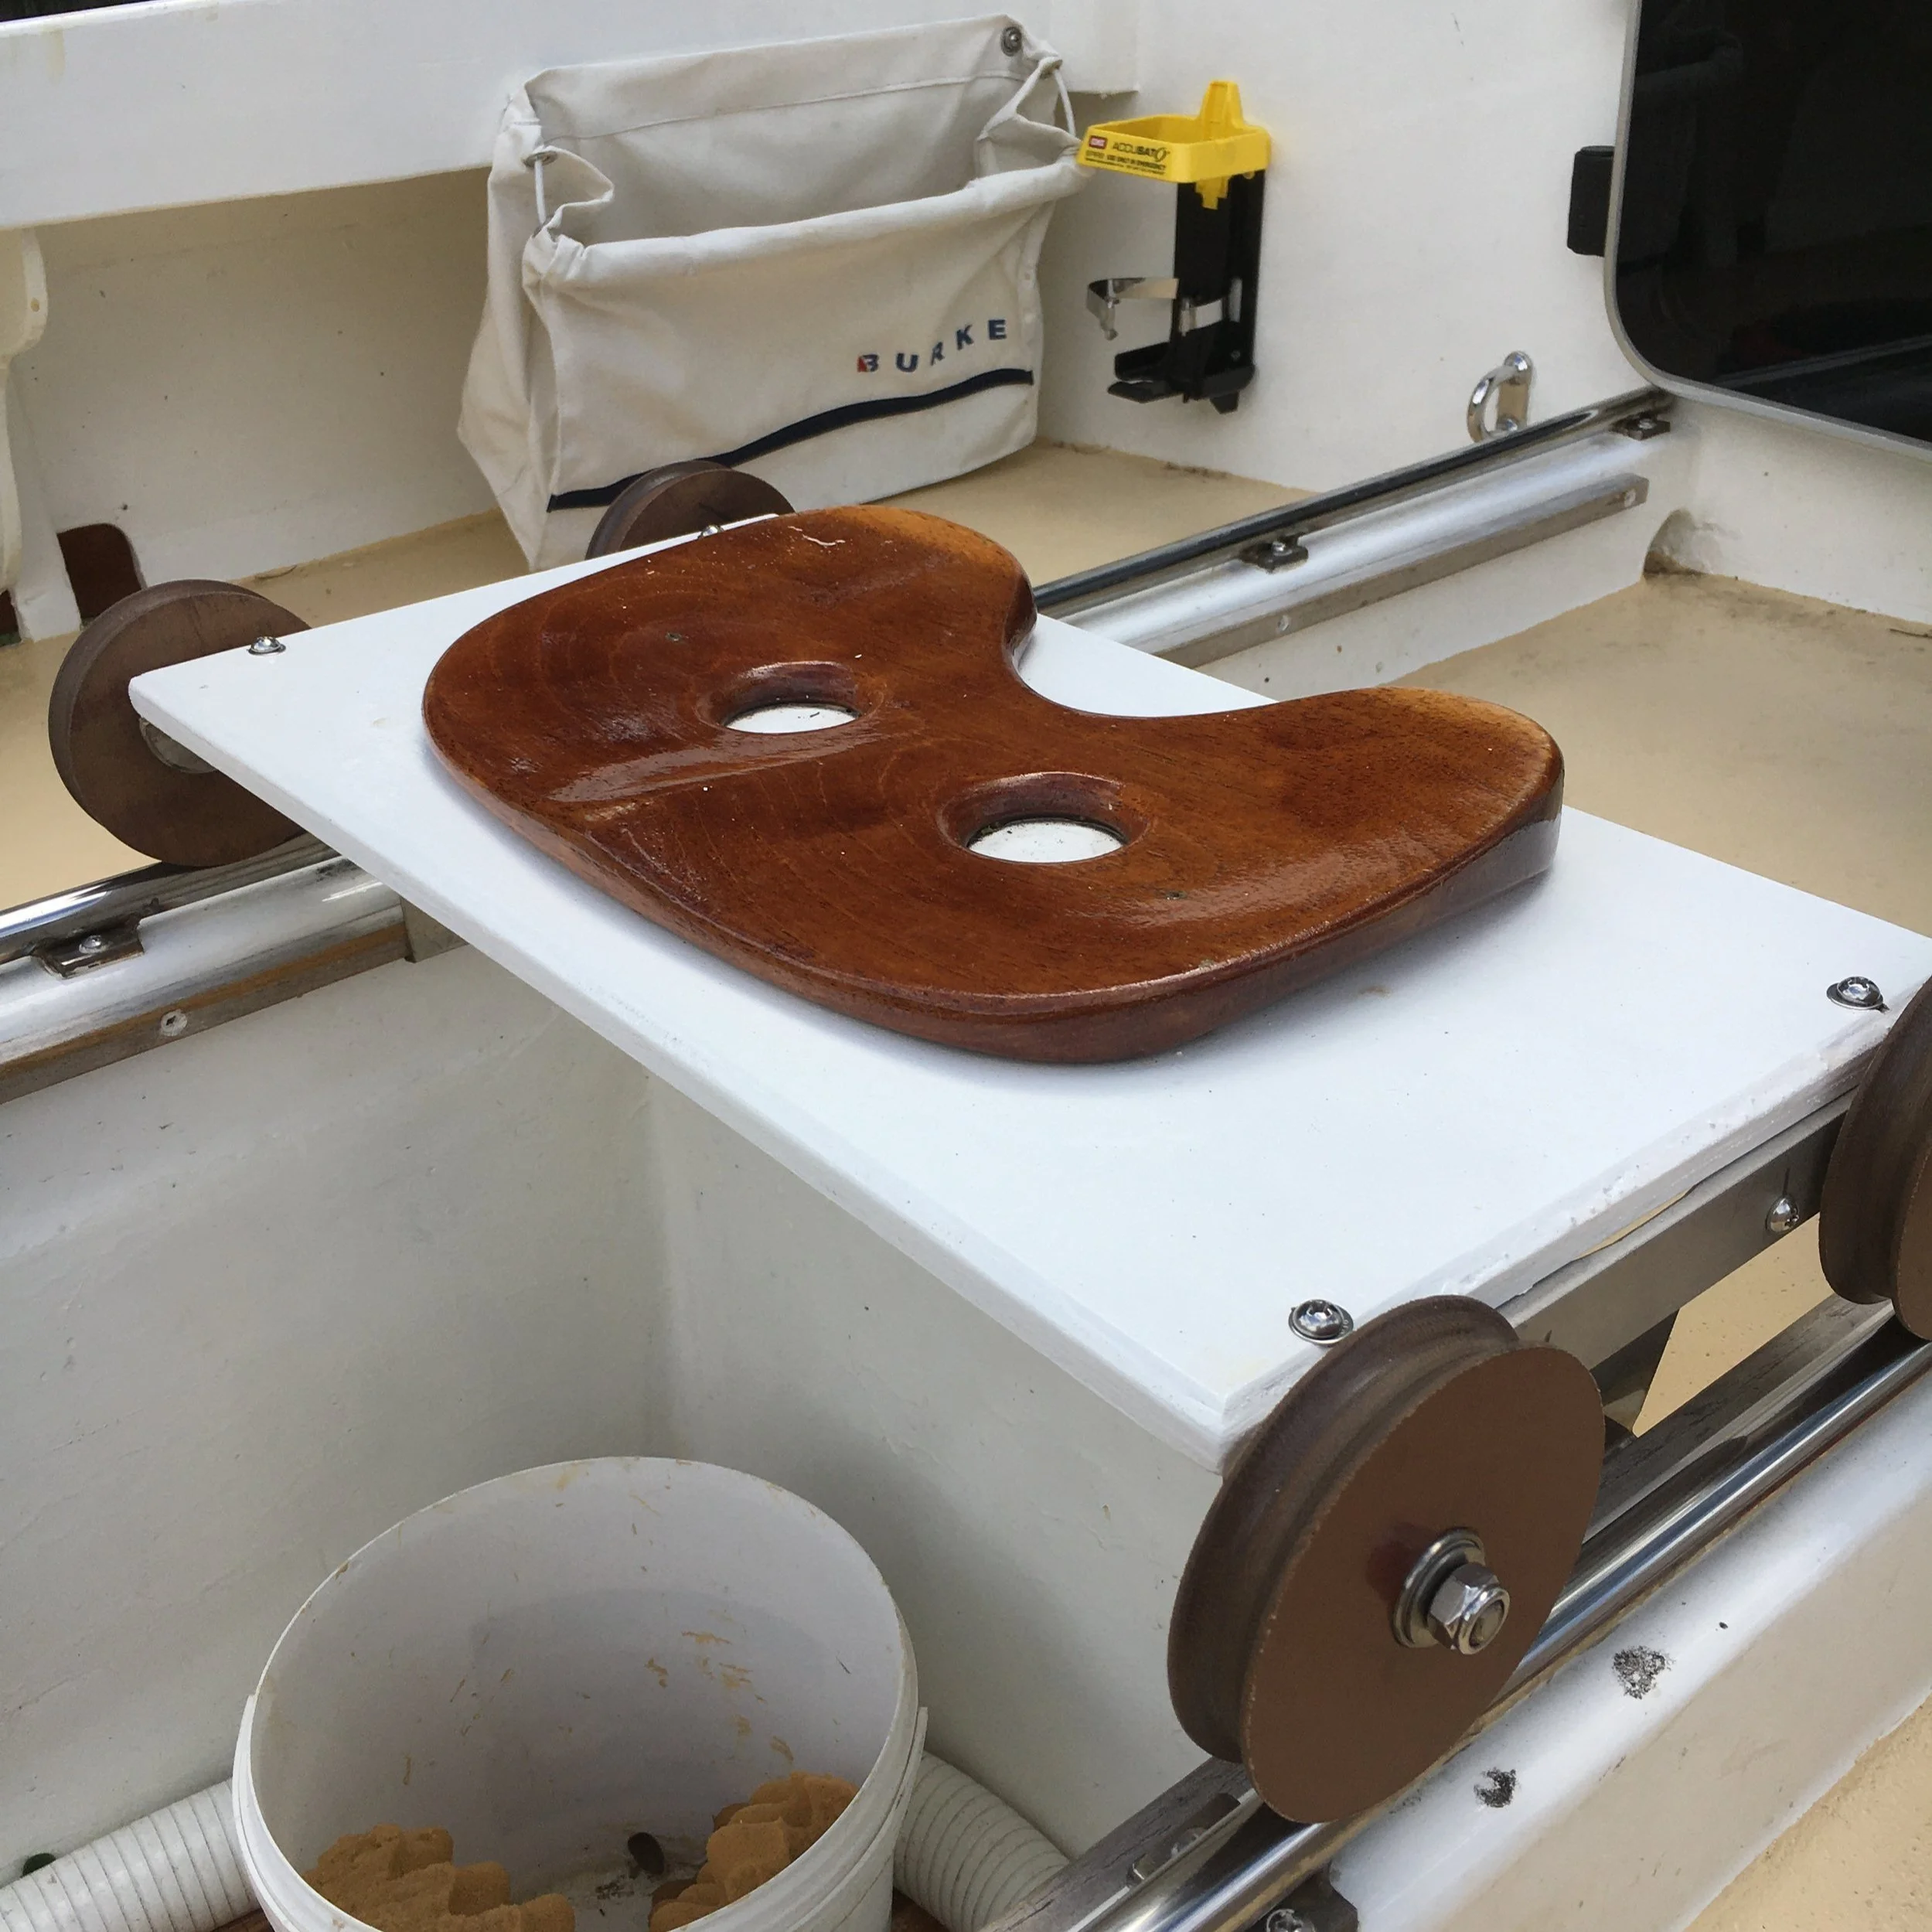
One night I looked at a few sheaves I had lying around and realised that this was the answer. It was as simple as using large sheaves as the wheels and have them run on tubes the same diameter as the rope they were designed for. The wheels I chose are 90mm tufnol sheaves, designed for 16mm rope. I then ordered 'all weather' stainless steel, skateboard bearings. Once I had the sheaves and the bearings I took them to a machinist and had them bore the sheaves (or wheels as I will now refer to them) to house two bearings in each wheel. I then took two pieces of 25mm angle stainless, cut them to length, then removed metal, where possible, to make them lighter. I bored holes in the angle to take 8mm rod for the axles, then simply bolted a piece of plywood for the seat. Atop this plywood is a traditional wooden seat from another rowing boat of mine.
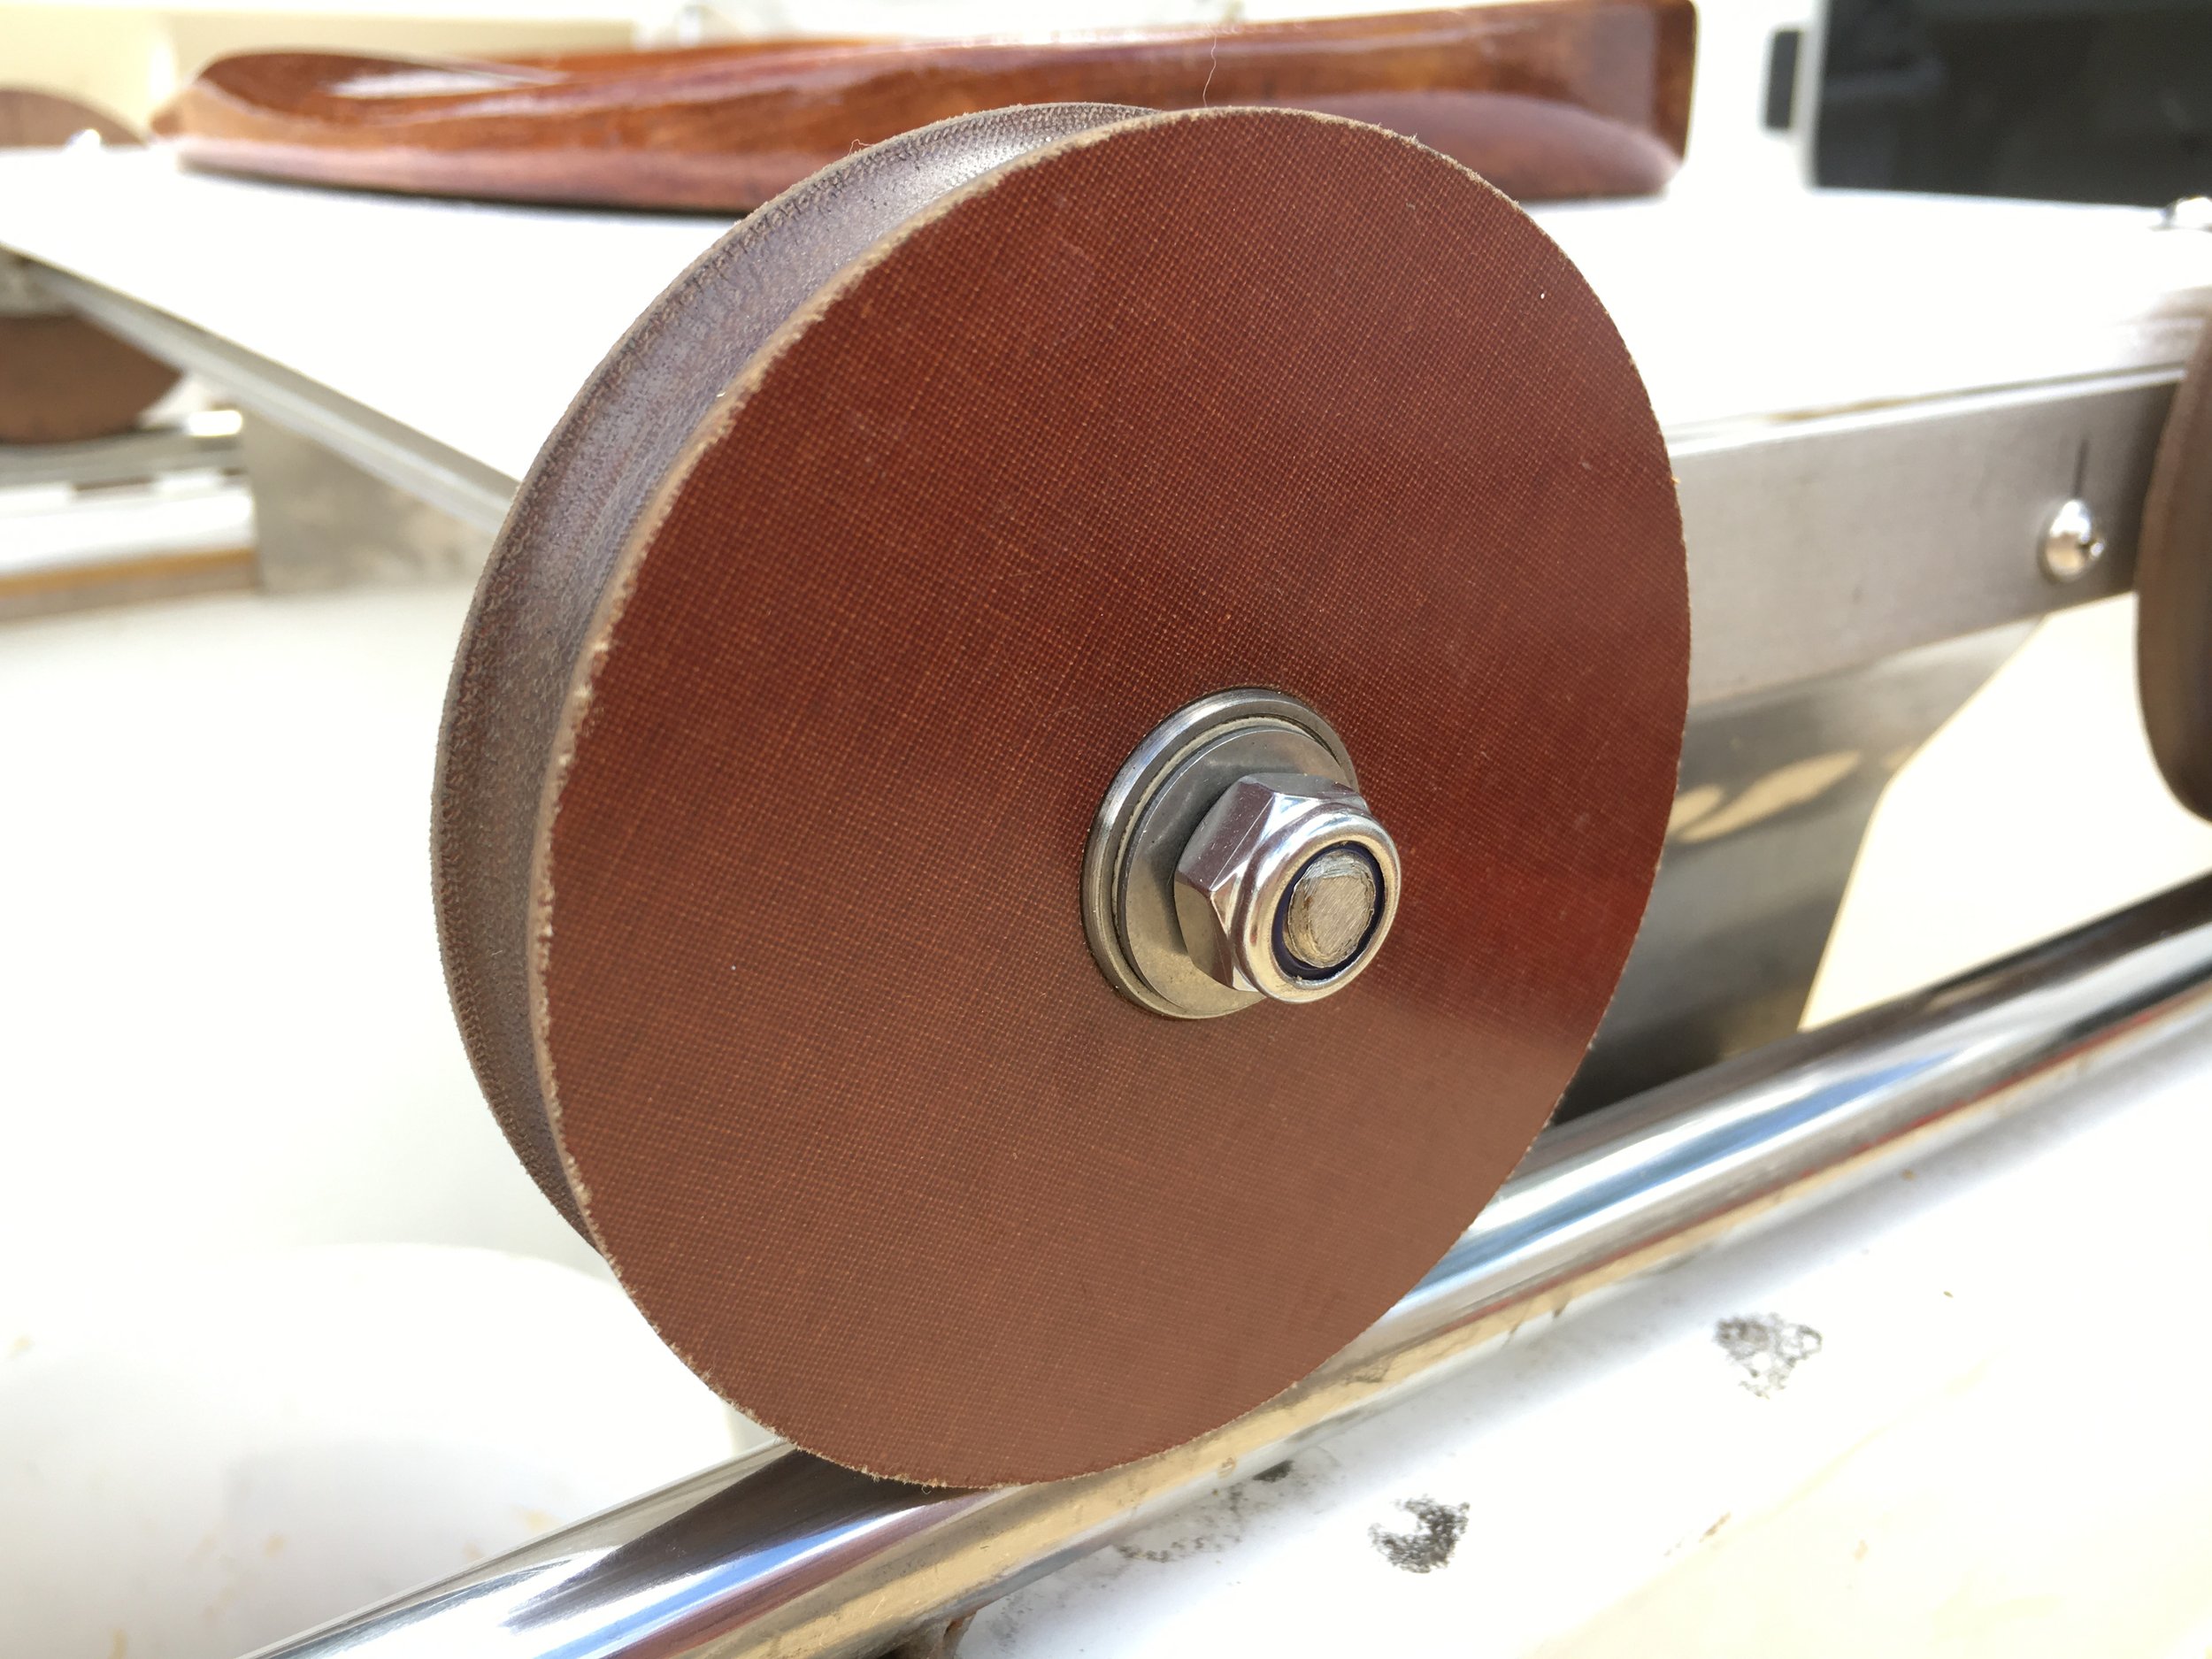
The rails were as simple as 2 lengths of 16mm stainless tube with tangs welded to every 200mm. These tangs have holes on each side for mounting screws. The beauty of this system lies in the convex nature, and small diameter of the rails. This means that they will not hold water and salt, instead shedding it, meaning that the wheels should last many, many miles to come.
The last hurdle to overcome was to make sure the seat couldn't lift up and fall off the rails. The way I went about this is very similar to most sliding seats on racing shells.
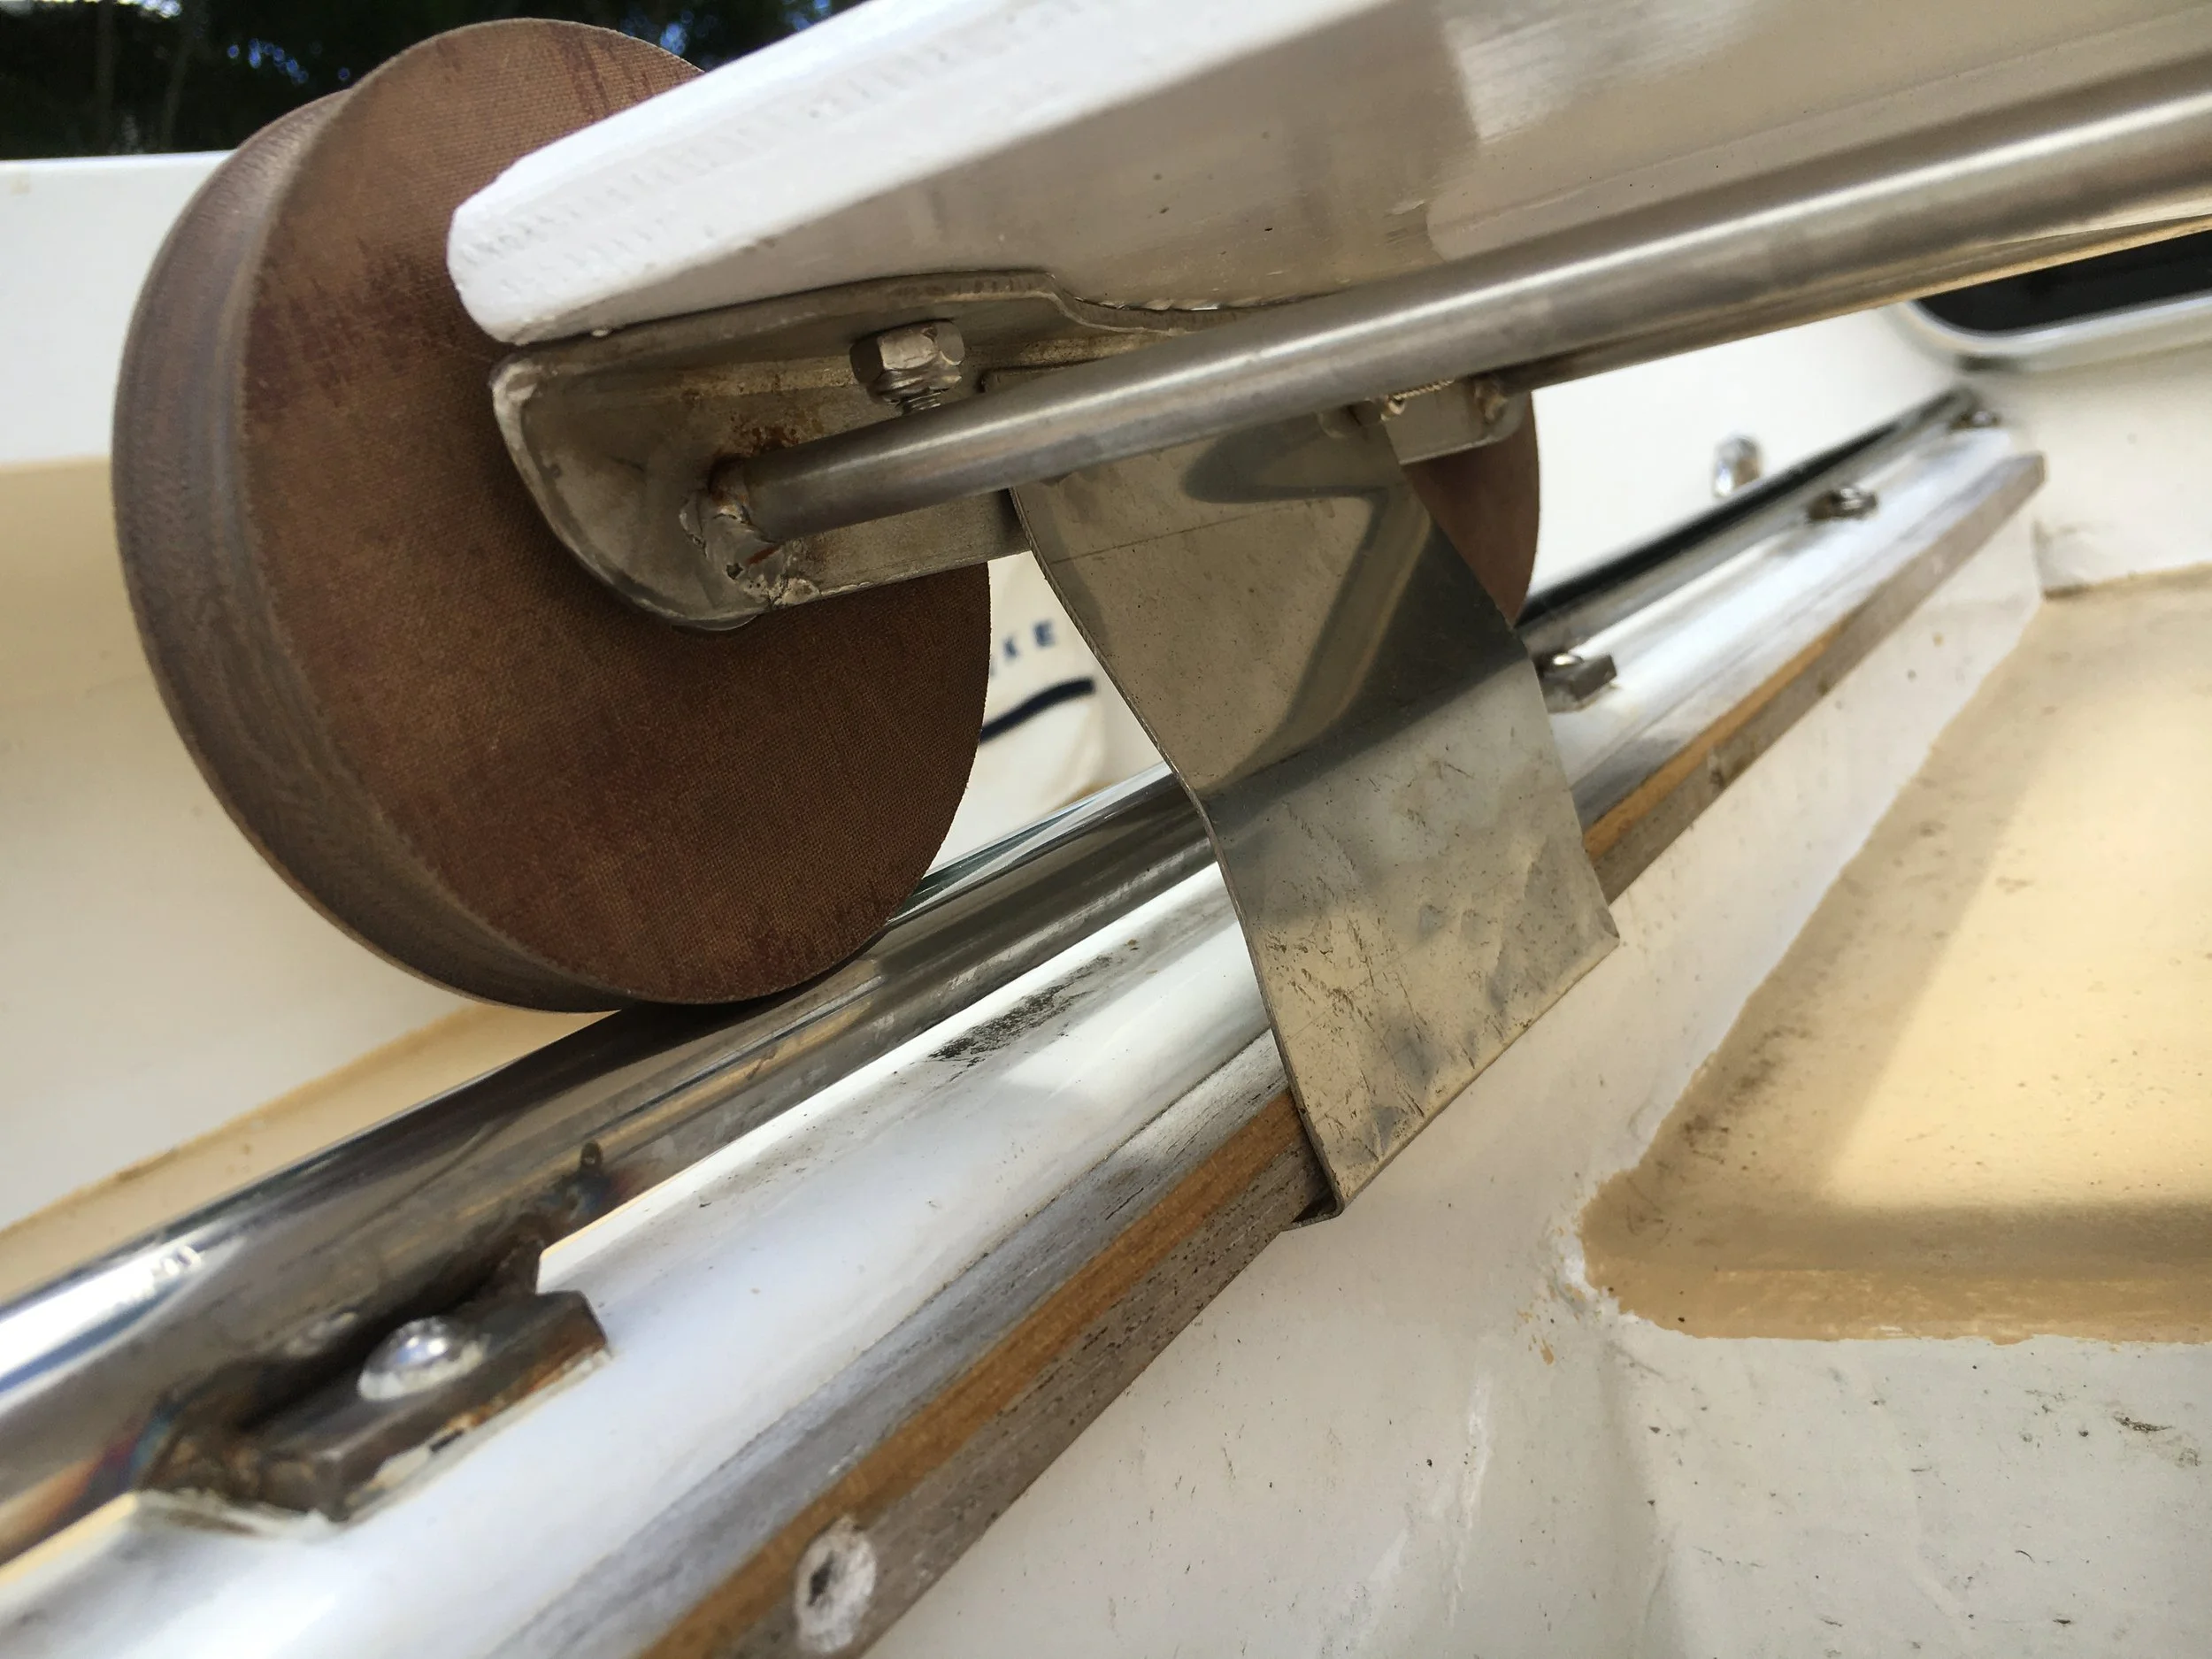
I screwed strips of 1/2” square teak to the inside of the rail timbers. I then bent some old stainless sheet around the teak and screwed it to the stainless angle. The clearance is just a few millimetres, but means that the seat won’t be able to come off. If one needs to remove the seat, it’s as easy as pushing the stainless steel sheet away from the teak rails and lifting it off.
As with everything on this boat, I will take a spare, so will have four spare wheels machined with the bearings fitted, ready to go if one were to break. However, I can't see this happening.