Yoga For Rowers
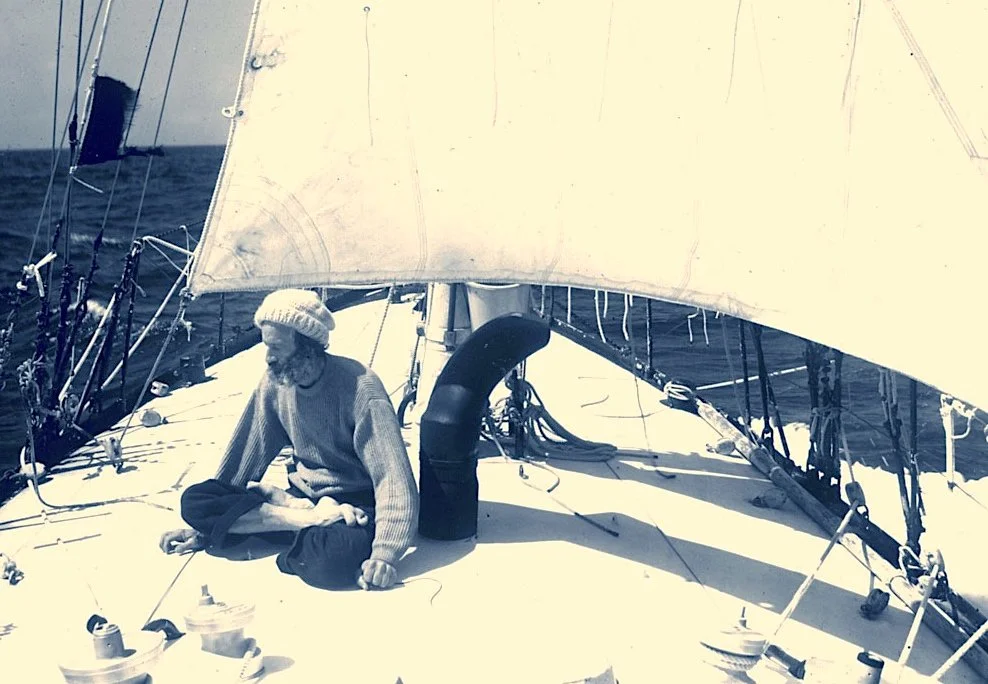
Yoga is a discipline that has intrigued and interested me for some years now. It was while reading Bernard Moitessier, including picture above, that really sparked my interest. I was captivated by this ancient ritual that can have such a positive impact on so many people’s lives.
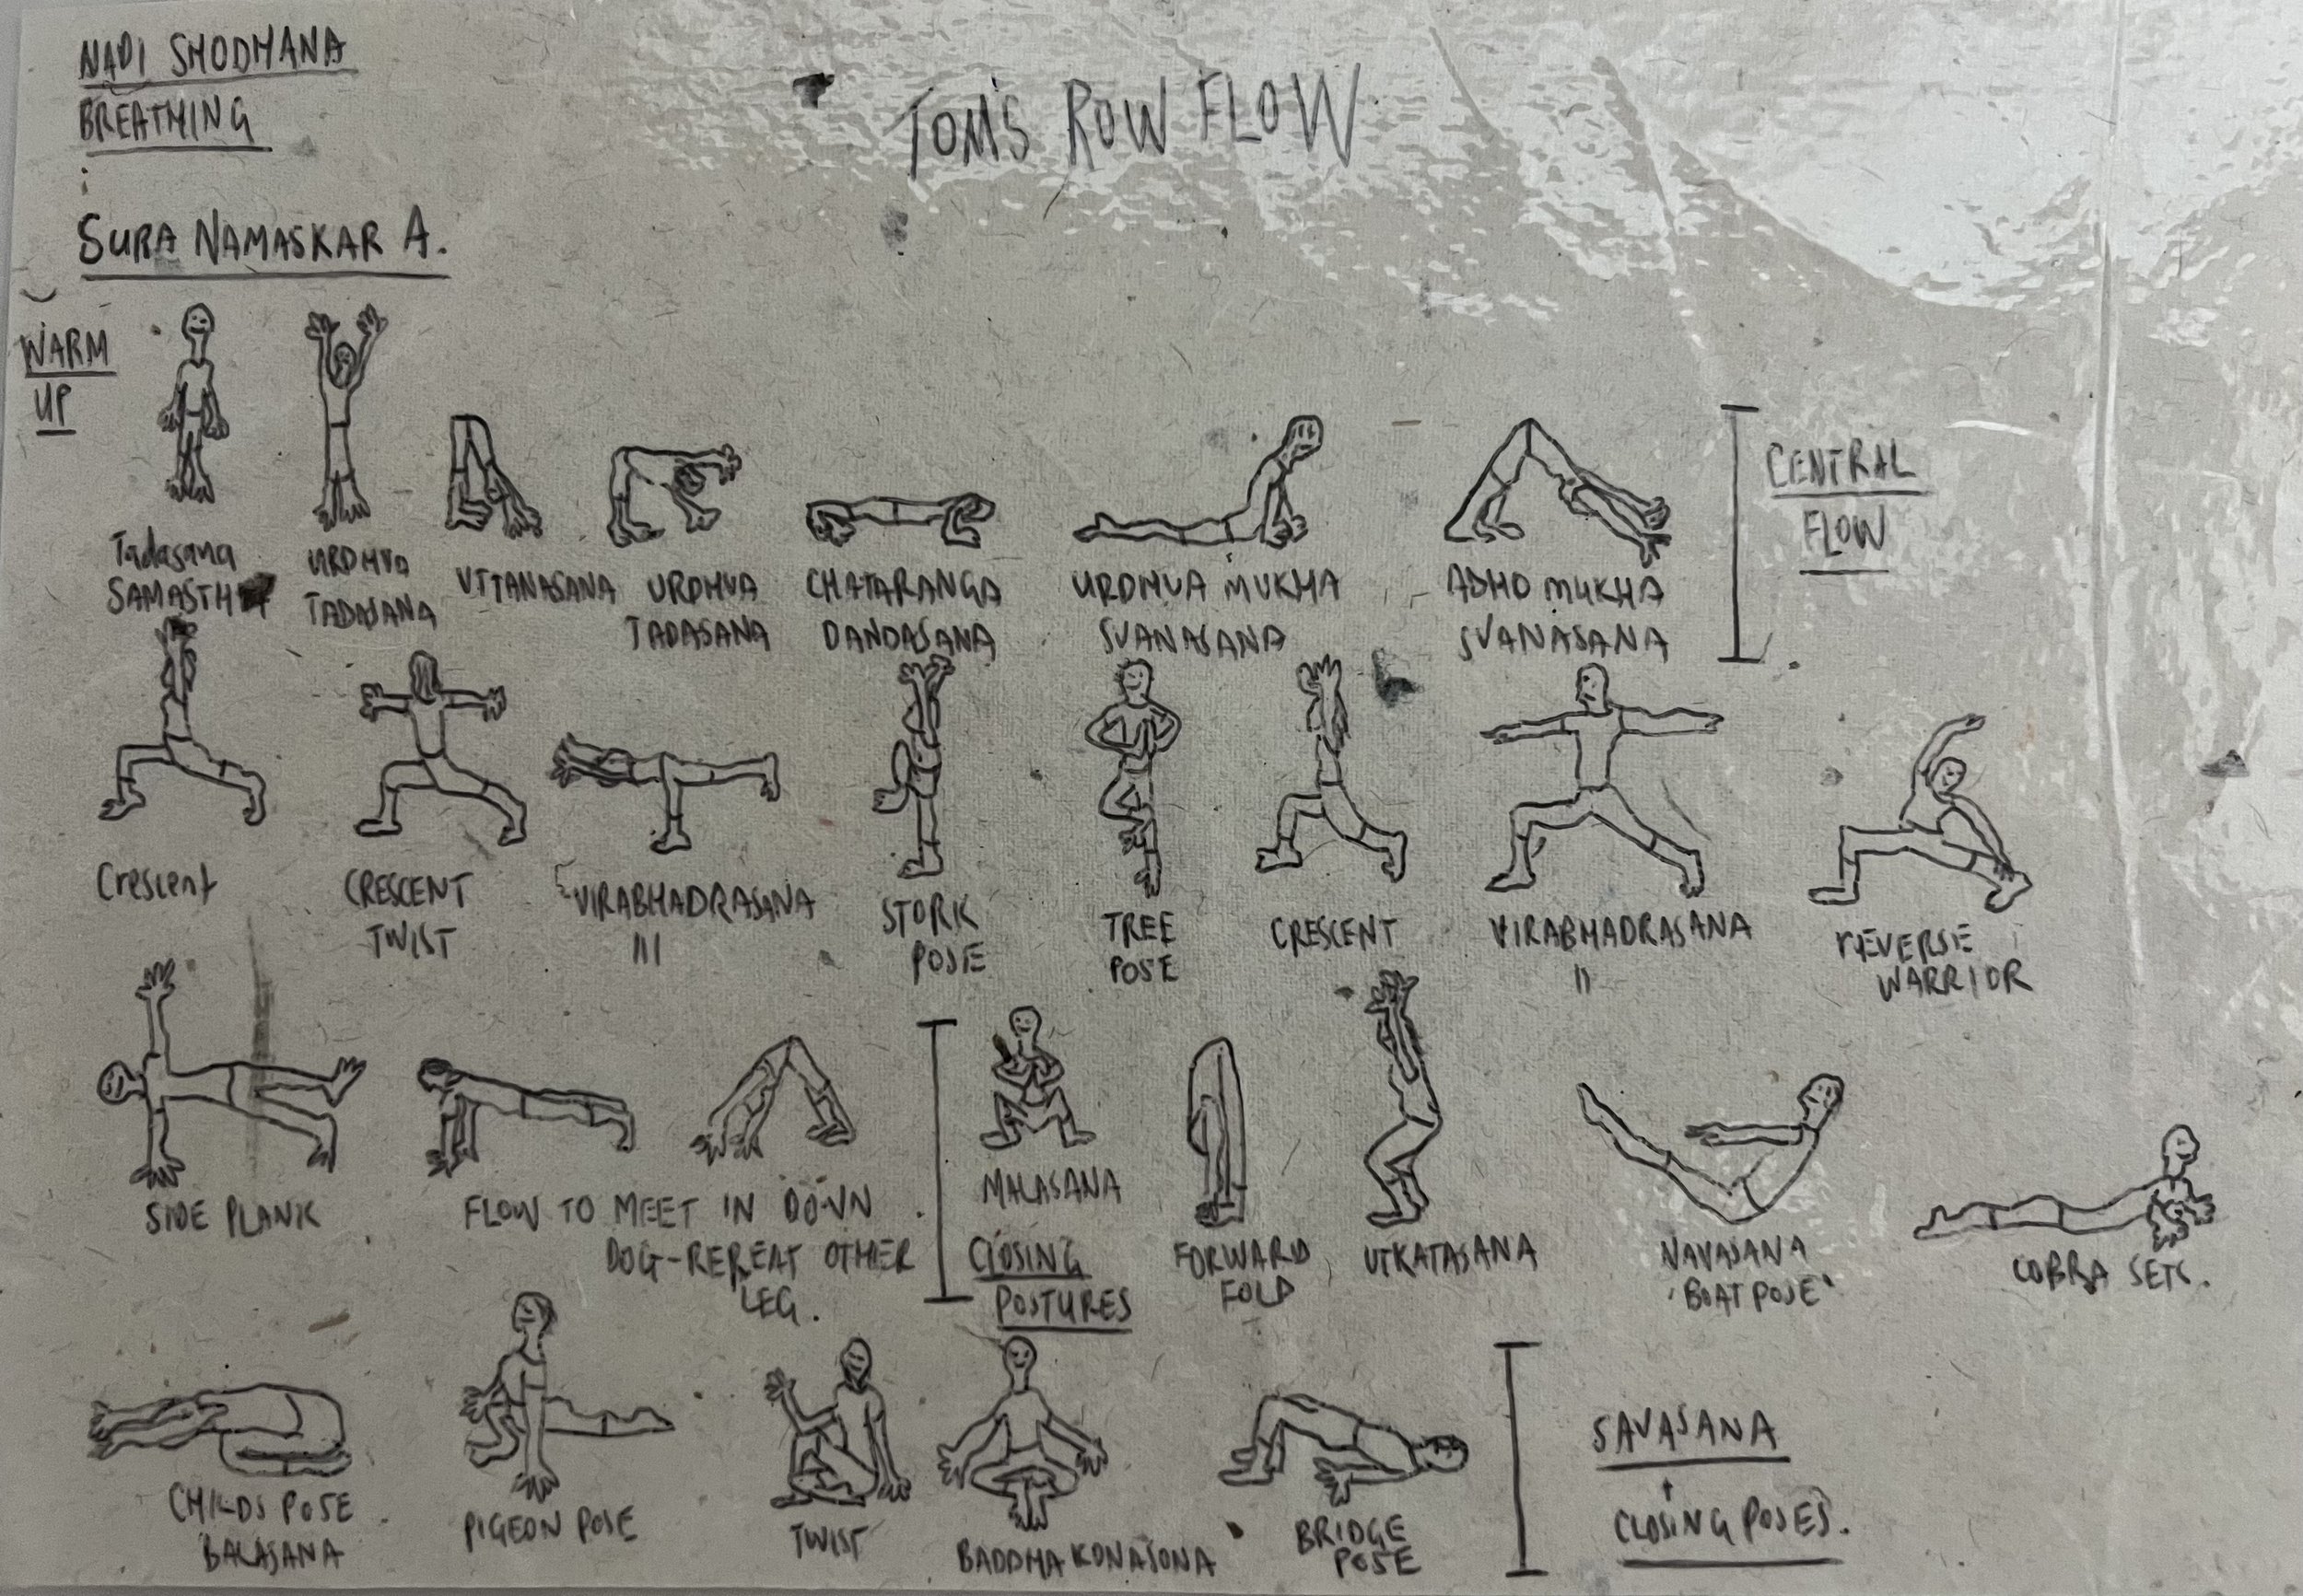
A dear friend and accomplished yoga instructor, April, was kind enough to design for me a personalised flow, known simply as ‘TOM’S ROW FLOW’. Although not a rower herself, April did plenty of research and put together a comprehensive flow aimed at strengthening and improving the parts of the body used when sliding seat rowing.
I hope you enjoy this flow as much as I have.
Surya Namaskar A ‘Sun Salutation’
Flow through a few sets of sun salutation to warm up your body and to find your breath.
Central flow
You can repeat the central flow as many times as you like. When you land in each posture there is a cue on whether you should be inhaling or exhaling. Once you have landed in the posture, you can choose to take as many or little breaths in each posture as you like.
A good indication is whether you feel out of breath or not. If you do feel out of breath, stay in the posture for a few more breaths. If you do not feel out of breath, feel free to flow through the postures with only the recommended exhale or inhale.
Crescent Lunge (Inhale)
From your downward dog, lift your right leg a few centimetres off the matt. Squeeze your right knee into your chest, drawing your right foot through to land in between your hands at the top of the mat. Begin to lift up into your high lunge/crescent lunge (inhale).
Crescent twist (Exhale)
From your crescent lunge, start to twist your chest over to the right, opening your arms to a ‘t’ shape. Attempt to keep the legs where they hips, hips squared and facing the top of the mat.
Warrior three (Exhale)
From your crescent lunge twist, recenter your body by coming back into your crescent lunge (Inhale). Start to bring wait into the right leg as you lift your back leg off the mat to transition into your warrior three (Exhale). Hands can come to the heart centre in prayer or out to the side like an aeroplane.
Stork pose (Inhale)
Start till tilt your body to an upright position, squeezing your left knee into the chest to make your way into stork pose. Arms can reach up to the sky.
Tree pose (Exhale)
Open up your hip by bringing your left knee out to the left hand side. Bring your left foot to either the inside of the right thigh, to the inside of the right calf muscle, or placed next to the inside of the right ankle. Hands to heart centre in prayer position.
Warrior Two (Exhale)
From your tree pose, carefully place the left foot to the back of the mat to land back in crescent lunge (Inhale). Ground the left heel to the mat, open the hips to face the left hand side, arms open wide, landing in warrior two (exhale).
Reverse Warrior (Inhale)
Keeping your lower body in its position, face the right palm up to the sky, begin to draw the upper body backwards into your reversed warrior.
Low lunge (Exhale)
Cartwheel hands down to the mat to frame the right foot, squaring hips to the front. Low lunge.
Side plank (Inhale)
Bringing the weight into the left hand, start to draw the right foot to the left foot, facing the body to the right hand side to meet in a side plank.
Chaturanga (exhale)
You have already done this one in our warm up!
Upward facing dog (Inhale)
Remember you can choose baby cobra
Downward dog (Exhale)
Take a few breaths here, find a comfortable breath before you start the next side. You can always come into a childs pose if you need.
Repeat on the other side.
Closing Postures
Recommended to hold each of these postures for at least 5 deep breaths.
If a particular posture feels good, hold it for longer!
Malasana
From your downward dog, look to the top of the mat and step each foot to the outside of each hand to squat down into your Malasana squat. If you are feeling frisky, maybe you want to try and jump forward, landing in your squat.
Forward fold
From your malasana squat, press the hands into the mat, start to lift the hips to the sky and shuffle the feet together, about hip width apart. Holding opposite arms, gentle bends in the knees, forward fold.
Chair pose
Begin to bend the knees, like you are about to sit in a chair. Lift the arms to the sky, chair pose.
Boat pose
Well… we couldn’t leave this one out. From your chair pose, start to squat down even further to the ground. As carefully as you can, sit down on the mat. Try and keep the arms lifted out in front of you and gently lift the toes off the mat. You can straighten the legs or keep them bent.
Cobra
From your boat pose, squeeze the knees into the chest, cross the angles. Reach the arms out in front, palace the on the mat and roll the body to meet in a table position. From here start to lower the body to the ground. Pressing the backs of the feet into the mat, engaging the quadriceps, hands gently pressing into the mat. On your next inhale, start to lift the chest off the mat into your Cobra pose. This is a good one to repeat three times.
Child's pose
Pressing back into your child's pose. Gently press your forehead (third eye) into the mat.
Pigeon pose
From your child's pose, start to lift up to your downward dog. Lift the right leg to the sky, draw the right knee into the chest and then place the right shin down to the mat to land in pigeon pose. Make sure the body is feeling comfortable (no pain in the knees) and lower the upper body down to the mat, once again resting the third eye down to the mat.
Twist
From your pigeon pose, start to lift the upper body, lean your body weight over to the right sit bone. Bring your left leg forward and place it over the right leg to meet in a seated twist.
Repeat pigeon pose + seated twist on other leg.
Bakasana
From a seated position bring the soles of the feet together to meet in a butterfly position. Gently fold the body forward.
Bridge pose
Roll the body back down to the mat. Press the soles of the feet into the mat, and lift the pelvis up to the sky. This is a good one to repeat three times. After your bridge pose, bring the feet to the edge of the mat, knock the knees inwards and rest on your back for a few breaths.
Savasana
From your bridge pose, make your way into savasana, make any last movements that you feel your body needs. Rest here for 5-10 minutes. If you feel any tension in the body, give that part of the body a squeeze and then relax.